This is so any problems I think I will come across will hopefully be solved now rather than later, and therefore my project in Ba8 will run as smoothly as possible. If I come across serious problems and don't know how to get past them I will then easier have time to contact someone for help.
So to start with I found this very helpful tutorial which spans over several Youtube videos.
1. UndergroundEducation (2010) Maya to ZBrush to UDK - Part 1 - Setting up [YouTube video] Available at <http://www.youtube.com/watch?v=2ky-ooDV8U4&feature=relmfu> Accessed 30th October 2012
He starts off by setting up his scene, which I haven't done as I don't want to make Maya too personal for good practise when in the industry. But I have watched it and understand how to acomplish these if I ever need.
2. UndergroundEducation (2010) Maya to ZBrush to UDK - Part 2 - Modelling in Maya [YouTube video] Available at <http://www.youtube.com/watch?v=_xIGPTHegyI&feature=relmfu> Accessed 30th October 2012
Following this tutorial I have used a sphere to save time and to look at a messy UV (as he isn't looking into it) and therefore I can learn how to clean up UV's for my future models.
So I started off creating a sphere:

I then added a texture, which I later realised was pointless because the texture I'll be adding will be My ZBrush texture so will have to cover this one up anyway, but I'll change it when I get to that.
But I did check out my UV's which did seem fine and don't need much changing however I looked at how he was snapping some points that on the model are together but on the UVs aren't so I too snapped my own. (All of the triangle points form one point.)

3. UndergroundEducation (2010) Maya to ZBrush to UDK - Part 3 - Modelling in Maya Continued. [YouTube video] Available at <http://www.youtube.com/watch?v=Z1TBAJ0R0xM&feature=relmfu> Accessed 30th October 2012
This Video was about creating and adding to the model, of course I would be doing this if I was creating my objects later, however for this try out I decided not to as I feel my sphere is good enough for what I need to do.
4. UndergroundEducation (2010) Maya to ZBrush to UDK - Part 4 - Modelling in Maya Continued. [YouTube video] Available at <http://www.youtube.com/watch?v=WviYebNJhtw&feature=relmfu> Accessed 30th October 2012
Following this guys advice, I have deleted my history and moved my pivot point (by pressing 'D' and 'V' to snap) to the bottom of my sphere for better accuracy when placing it in a scene in UDK. And then snapping it back to the centre of my scene.

He also goes on to talk about measurements that would fit the UDK environment, which I didn't think about. So I went to check some measurements so they would help me with my models.
256 UU = 487.68 cm = 16 feet.
1 meter = 52.5 UU
1 foot = 16 UU
1 cm = 0.525 UU
1 UU = 0.75 inches
(Unreal Unit)
Bleah. UDK Player Scale Polycount [Forum] Available at <http://www.polycount.com/forum/archive/index.php/t-74537.html> Accessed 30th October 2012
Unreal Unit Wiki Available at <http://wiki.beyondunreal.com/UU> Accessed 30th October 2012
My child is, so I have to consider what my assets and objects in this room will be sized in comparison to her. (Create> Measurement Tools> Distance Tools) For this my ball is a football size being 22.5cm which would equal 11.8 UU. (Henbrandt) And because one Maya Unit to Unreal Units I have to make sure my sphere is 11.8 MU.

Henbrandt (2012) Uninflated Plastic Football 22.5cm, colour varies, one supplied Amazon Available at <http://www.amazon.co.uk/Uninflated-Plastic-Football-22-5cm-supplied/dp/B0026RRNGE/ref=acc_glance_sg_ai_ps_t_3> Accessed 30th October 2012
5. UndergroundEducation (2010) Maya to ZBrush to UDK - Part 5 - Modelling in Maya Continued. [YouTube video] Available at <http://www.youtube.com/watch?v=T5pVPf6p3h8&feature=relmfu> Accessed 30th October 2012
Now I need to check my translations by freezing them, and deleting my history. Then make and set my new project to make sure, for future reference, I have the correct folders for important things. Finally before exporting as an object I need to check I can export as an .obj file in the plug-in manager.(Window> Settings/Preferences>Plug-in Manager)
Now I can export using the Export selected, clicking on the box to adjust settings. Making sure it's an obj export and not maya binary. I have also left all of my settings on, as my sphere is quite simple and wont be effected by exporting things that aren't there. This means I can keep them on for future, more complicated, exports.
And now I have exported my .obj file (plus in the correct file)
6. UndergroundEducation (2010) Maya to ZBrush to UDK - Part 6 - Importing to ZBrush. [YouTube video] Available at <http://www.youtube.com/watch?v=_C7n2CDhMo8&feature=endscreen> Accessed 6th November 2012
Importing the file through the tools box and then dragging it on the scene will make the sphere show up. I can then play around with perspective 'P' to make the object have an isometric view or a perspective one.


He also mentions to save a 'Morph Target' I don't quite understand this, but he says it will be important later and is probably one of the first things I should do when opening a new ZBrush tool.
For corners and flat edges that are wanting to kept so, he says to make sure I crease the object so that when I subdivide the corners don't round off.
To hide certain areas, turn on draw PolyFrame to see better and then select the interior faces, of the flat surface. Do this twice to select all necessary faces. Ctrl+shift+click will invert this. And I can then 'group visible' at different poly areas I want to visually separate.
7. UndergroundEducation (2010) Maya to ZBrush to UDK - Part 7 - Creases and subdividing in ZBrush. [YouTube video] Available at <http://www.youtube.com/watch?v=7COJgcSVjPw&feature=relmfu>
I would then select every visible face and crease each one.
These changes I've made will be a normal/bump map and the displacements will be a height map.
I have also divided my mesh a couple of times.
8. UndergroundEducation (2010) Maya to ZBrush to UDK - Part 8 - Smoothing the Mesh in ZBrush. [YouTube video] Available at <http://www.youtube.com/watch?v=F16PHVH_0YM&feature=endscreenv=F16PHVH_0YM&feature=endscreen>

I managed to mask off a certain area so I was able to sculpt the other parts.
9. UndergroundEducation (2010) Maya to ZBrush to UDK - Part 9 - Saving and Layers in ZBrush. [YouTube video] Available at <http://www.youtube.com/watch?v=fjOGgIzqZKc&feature=relmfu>
So using my masked areas, I can now go into deformation and adjust this non selected area in a very precise way.
So far I have just moved the size
11. UndergroundEducation (2010) Maya to ZBrush to UDK - Part 11 - Blocking out the Rest of Basic Detail. [YouTube video] Available at <http://www.youtube.com/watch?v=ufLC6TqWPEc&feature=relmfu> Accessed 9th November 2012
Ctrl and Alt is a minus mask tool, so I can take away a mask when I've done a mistake.
From here on he is basically sculpting which I have followed and understood but didn't think much of what I have learnt can be rephrased here and make it sound interesting. So I've skipped onto the next important video and here is my basic textured sphere:

Making sure the colour has been filled, and using RGB selected and Z add and Z sub not. We can add colour to this sphere.

23. UndergroundEducation (2010) Maya to ZBrush to UDK - Part 23 - Exporting the Normal and Displacement Maps. [YouTube video] Available at <http://www.youtube.com/watch?v=rHJ9RWoQhLI&feature=relmfu> Accessed 12th November 2012
Now we are going to get a Displacement and Normal map, and you start off by turning on adaptive scan mode which decides which areas need more or less detail in. (image res set to 1024)
Normal map needs to be clicked on tangent and setting the subdivision level to the lowest.
IF - you wanted to attach these to the original mesh in Maya then this is the time that you would have to got to the morph target tab and 'switch' to it. The displacement map can then be created and consequently found in the alpha drop down menu, and often need to be flipped.
The normal map can then be created. These can be saved as Photoshop files, so they can then be adjusted in Photoshop if needed.
The morph target doesn't have to be used if i am not in a pipeline with a set mesh. So I can in fact export my new obj file.
This also helped: http://www.youtube.com/watch?v=xaGMq1YJwio
And qRemesher tool can be used to re-topologise. : http://www.youtube.com/watch?v=nEriFHOD4VA
25. UndergroundEducation (2010) Maya to ZBrush to UDK - Part 25 - Bringing in the mesh and setting up the material. [YouTube video] Available at <http://www.youtube.com/watch?v=Q7MJTYLePF8&feature=relmfu> Accessed 16th November 2012
The first thing that is done here if to import the model from Maya into UDK using the axmesh, which needs the installed actor X, which I haven't got. But after looking into it, I realised another way of exporting the model as FBX. I can't seem to export my object in Zbrush as FBX so will have to do this through Maya.
THIS ALL WENT WRONG
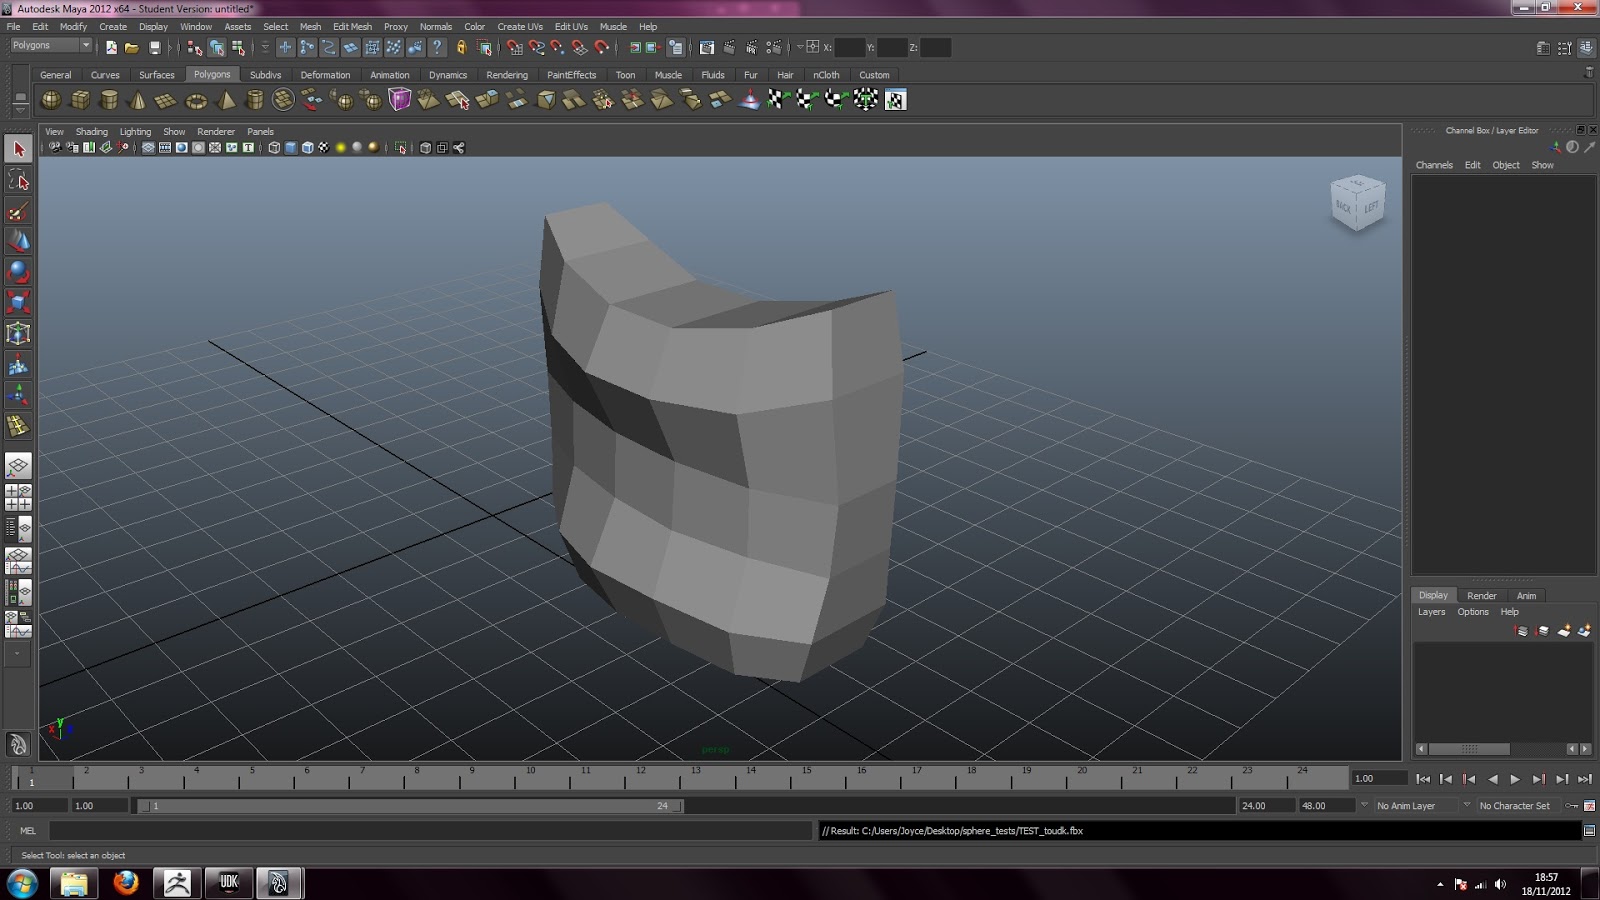
It took a while, but I understand what went wrong. The triangle polys in Maya on my sphere weren't being handled well in ZBrush, I had forgetting and figured it would be ok. But clearly not at the UV's would be messed up and so would all my maps. So i new 'squarer' object has been made.
I have sculpted, coloured, and exported all maps as shown before for this new simple model. and found this does work lots better.
And this is my Maya file thats been in ZBrush and I've imported back the lowest res model into here so that I can save it as an FBX file, compatible with UDK.
I later had a problem with plug in smoothing and found help here: http://download.autodesk.com/us/fbx/20112/Maya/_index.html
This video also shows how to add materials and textures to the static mesh. and I have finally worked out how to do it, One reason being I forgot to flip the maps vertically.

You have to import them all, and use the colour map as a new material and go into that sub menu to assign it to the object chosen. Placing the RGB selector to the diffuse, it shows up on the left.
After this, i assign the new material and this drag it on screen and there we have it, my odd models in UDK.

The next thing was to create collisions, which I did with the help of a couple of tutorials: http://www.youtube.com/watch?v=Iv5NO1Z8JXE
http://www.3dmotive.com/training/free/creating-mesh-collision-for-udk/?follow=true
and
28. UndergroundEducation (2010) Maya to ZBrush to UDK - Part 28 - Testing the material in game and creating collision meshes. [YouTube video] Available at <http://www.youtube.com/watch?v=u4a2h7T0E8U&feature=relmfu> Accessed 18th November 2012

And I managed to create a simple box collision which I am happy with for this tutorial.

Intro

1

2

3

4

5

6
- First off in the first image you'll see in the plug in's menu you need to select
- MR screen 01 select the fourth camera option to bring up the render menu and from here select in the drop down . mental ray
- MR Screen 02 scroll down and select the camera you want to render from, then select the aspect ratio, here's it's shown at just 640 x 480
- MR Screen 03 in the same menu, select quality and then select Max sample and set it to 2, this will reduce any rough edges in your render, the higher the setting the smoother.
- MR Screen04 same menu, select Features, tick Final Gathering
- MR Screen05 same menu, select Indirect Lighting, at the side of Physical Sun and Sky, select 'Create'
- MR screen 06 select the second camera along to render your scene from the camera you selected and you'll see the same result as shown in my pic.
This has helped me create a simple render of my test of sun lighting:

I also managed to create a scene with spot lights roughly using this tutorial: http://www.youtube.com/watch?v=sqrj9o4uM6g

This is how I am going to create a scene with lighting, if needed, in UDK: http://www.worldofleveldesign.com/categories/udk/udk-how-add-lights-dominant-directional-light-point-light.php
And finally ZBrush lighting can be done like this: http://www.pixologic.com/zclassroom/homeroom/lesson/lighting/

And finally ZBrush lighting can be done like this: http://www.pixologic.com/zclassroom/homeroom/lesson/lighting/
No comments:
Post a Comment